How to Lay a Patio? – Complete Guide
A patio is an excellent addition to any outdoor space since it gives an al fresco eating area, a place to sit and enjoy the good weather. It enhances the aesthetic of any garden by adding visual texture and contrast.
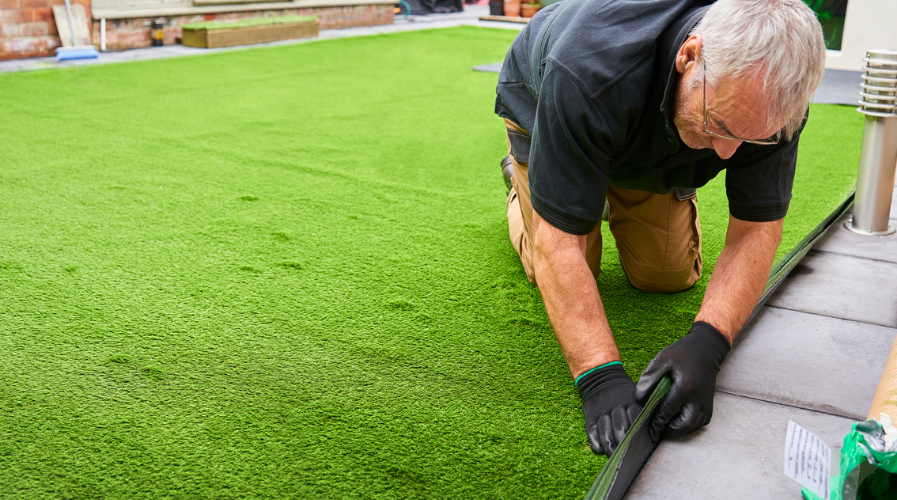
Many individuals who desire a patio but cannot afford the cost of professional landscaping may question, “Can I install a patio myself?” Yes, you can, but only if you use high-quality materials and adequately prepare the room beforehand.
Following our professional advice on lay, a patio will result in a functional garden feature that you can enjoy all year. It may also be an excellent addition to your garden’s hard landscaping, increasing the beauty of your outdoor area.
It will accommodate a dining table, a garden couch, loungers, a bench, and a level area for children to play.
Patios and paving have grown in popularity as an outdoor renovation approach during the last several years. Their rising popularity is due to their extended life duration, simplicity of care, adaptability, and aesthetic attractiveness.
Furthermore, constructing a patio is an excellent approach to creating a smooth flow between your outside and internal spaces. Consider installing a deck to enhance the appearance of your outside area. Laying on a patio is a simple task that will only take a few days.
The beauty of it is that no technical skills are required; grab the necessary equipment and apply some basic DIY abilities, and you will have your patio nicely laid in no time. However, it is crucial to know that installing a deck may be time-consuming and labour-intensive, so plan accordingly!
This article provides step-by-step guidance for laying your patio as a novice. If your job is too hard for a beginner or wants it done well, Cardiff Lawn & Garden are highly experienced patio and pavement installers headquartered in Cardiff, South Wales.
Our step-by-step guide will walk you through the process so you can design your outdoor environment.
How to lay a Patio? – 7 Simple Steps for Beginners
Following this advice will ensure that you lay your patio like an expert.
Before creating your patio, you must first acquire all necessary tools, equipment, and supplies.
1. Make a plan
Make a plan after determining where you want to put your patio. Draw your idea to scale on graph paper, including all dimensions. Consider permanent fixtures such as maintenance hole (maintenance hole) covers, walls, artificial grass, and giant plants that may interfere with the design of your patio.
The patio’s surface should be at least 150mm below your house’s damp-proof course to prevent precipitation from bouncing back off and striking the wall above.
Furthermore, if you install your patio adjacent to the home, make sure it has a gentle slope away from the house to drain the rainfall. Allow for a 25mm drop after every 1.5m.
2. Take Measures
Determine the total square footage of your patio. It assists you in determining the number of paving slabs required to cover the whole area. Unless you utilise different-sized slabs, each box of paving slabs indicates the area it covers, making calculations simple.
3. Make a note of it
Take your paper blueprint and mark it on the ground using a builder’s square, twine, and wooden pegs. To ensure consistency, align the markings on the top surface with any existing structures.
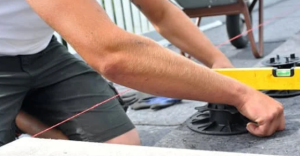
4. Make the Base

After marking out your patio, it’s time to lay the foundation. Remove any grass or plants to a depth of 150mm. Pour in hardcore to a 50-80mm deep to provide a sturdy foundation for your patio. Distribute the hardcore and smooth down any irregularities using a rake.
You may also employ a motorised wacker, which will provide a more consistent firm foundation. On top of the hardcore foundation, apply a layer of bedding mortar. Make your mortar by combining five parts of cement with one part of cement.
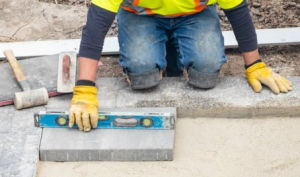
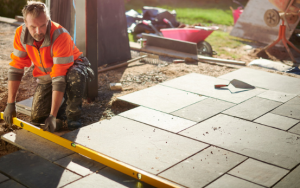
5. Install the Paving Slabs
Check that the string guidelines are square to your home before setting down your slabs. Place your first slab on the mortar bed and use the string guideline to ensure proper alignment. Protect the slab with a wood block and hammer it into the appropriate depth, ideally 5-8 mm.
Repeat this procedure until all of the slabs have been set down, paying attention to the patio slope. Leave 1 cm gaps between pavement slabs while placing them, which you will fill afterwards.
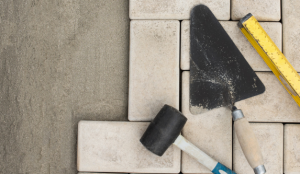
6. Highlight (Fill the Gaps Between the Slabs)
After laying all of your slabs, let the mortar cure for at least 24 hours before pointing. Use a mortar trowel to squeeze mortar into the spaces to fill the gaps. Brush any excess mortar off the surface before it dries.
Wash the slabs once the pointing mortar has dried to eliminate any signs of cement or sand.
7. Keep Your Patio Clean
Your terrace is now complete. Here are some suggestions for upkeep.
- Before covering or sealing your patio to avoid water seepage or fading, consult the manufacturer’s recommendations for the best material to use.
- Every three months, inspect for any loose or broken slabs.
- Remove the snow with a stiff brush or a plastic shovel if the patio freezes.
- Clean the patio regularly to eliminate debris, dust, and stains.
Conclusion
Building a patio is one of the simplest and most long-lasting methods to update the aesthetic of your outdoor area. To create the deck of your dreams:
Follow the procedures outlined above.
When purchasing paving slabs, ensure they are the same kind to maintain consistency and uniformity in shape and colour. You may also clean a patio with a pressure washer, but make sure that this isn’t prohibited for the paving slabs you use.
Set the pressure washer at a low angle with a fan setting if one is available, and only use it on any damaged areas. Work in portions throughout the patio that are equally spaced.
What is your reaction?